Replacing the image in a finished post
Upload your own photo to a post that was already generated, without creating a new one.

Quick answerIn the editor, click Images. In the Add image window, open the Upload tab, upload the file and click it to place it in the post.
Before you start
- Use sharp, well-lit photos.
- Avoid very long file names.
Step by step
1Open the post in the editor
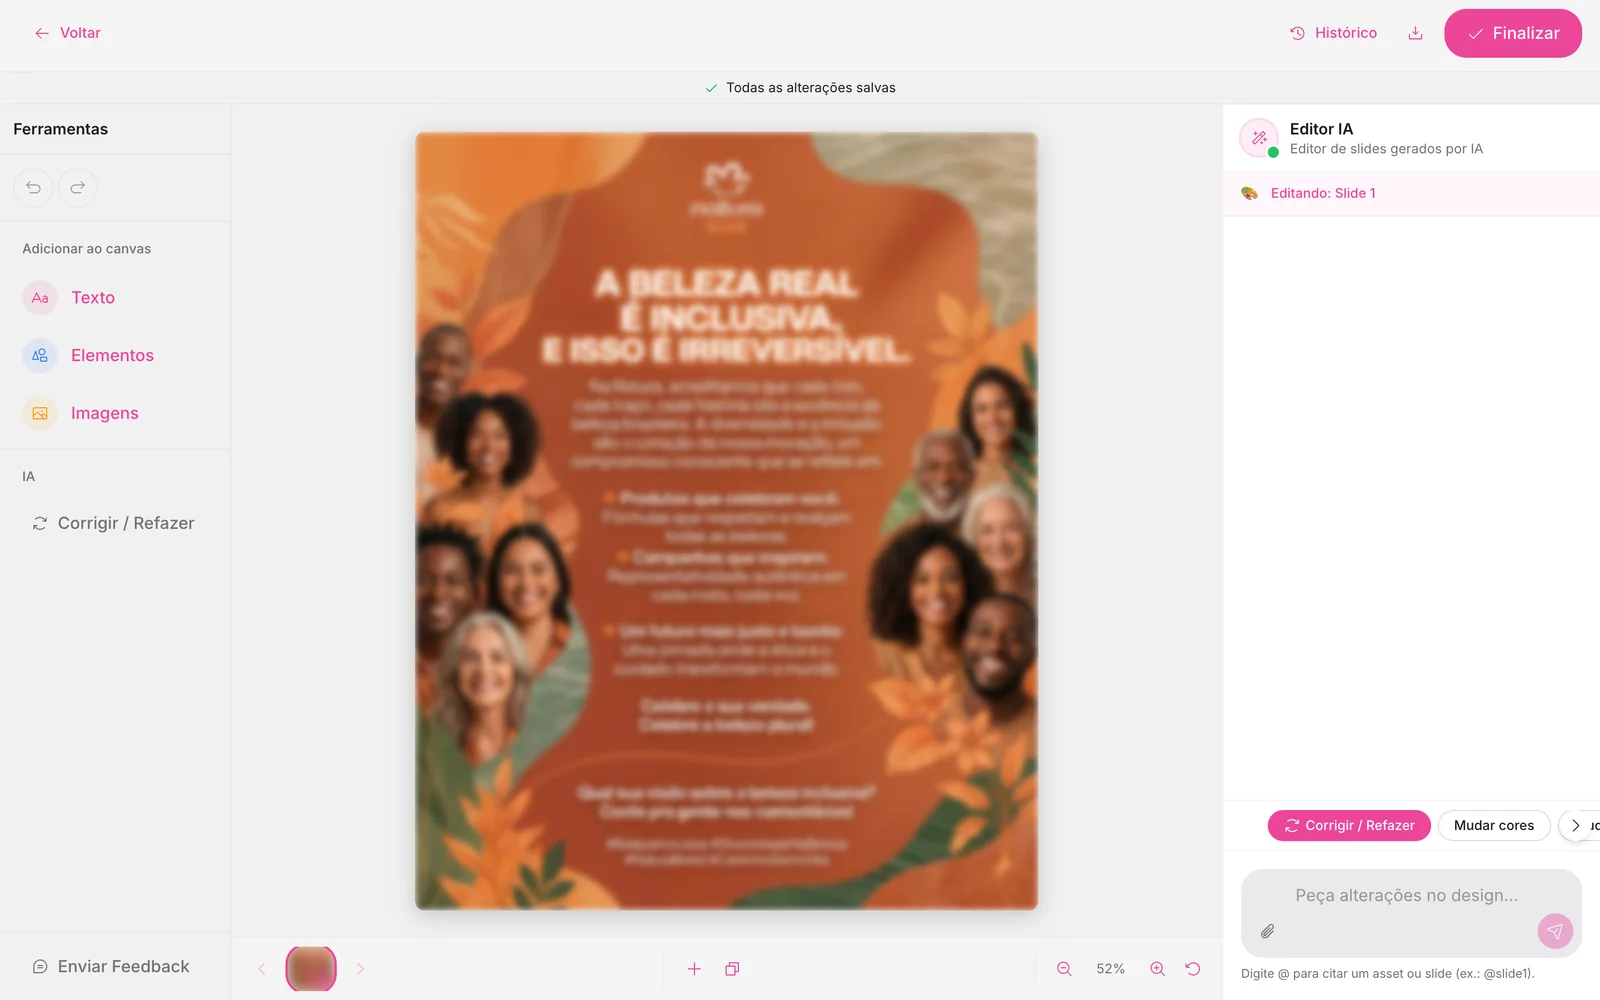
In the Library, open the post and click Edit Design.
2Click Images
In the left bar.
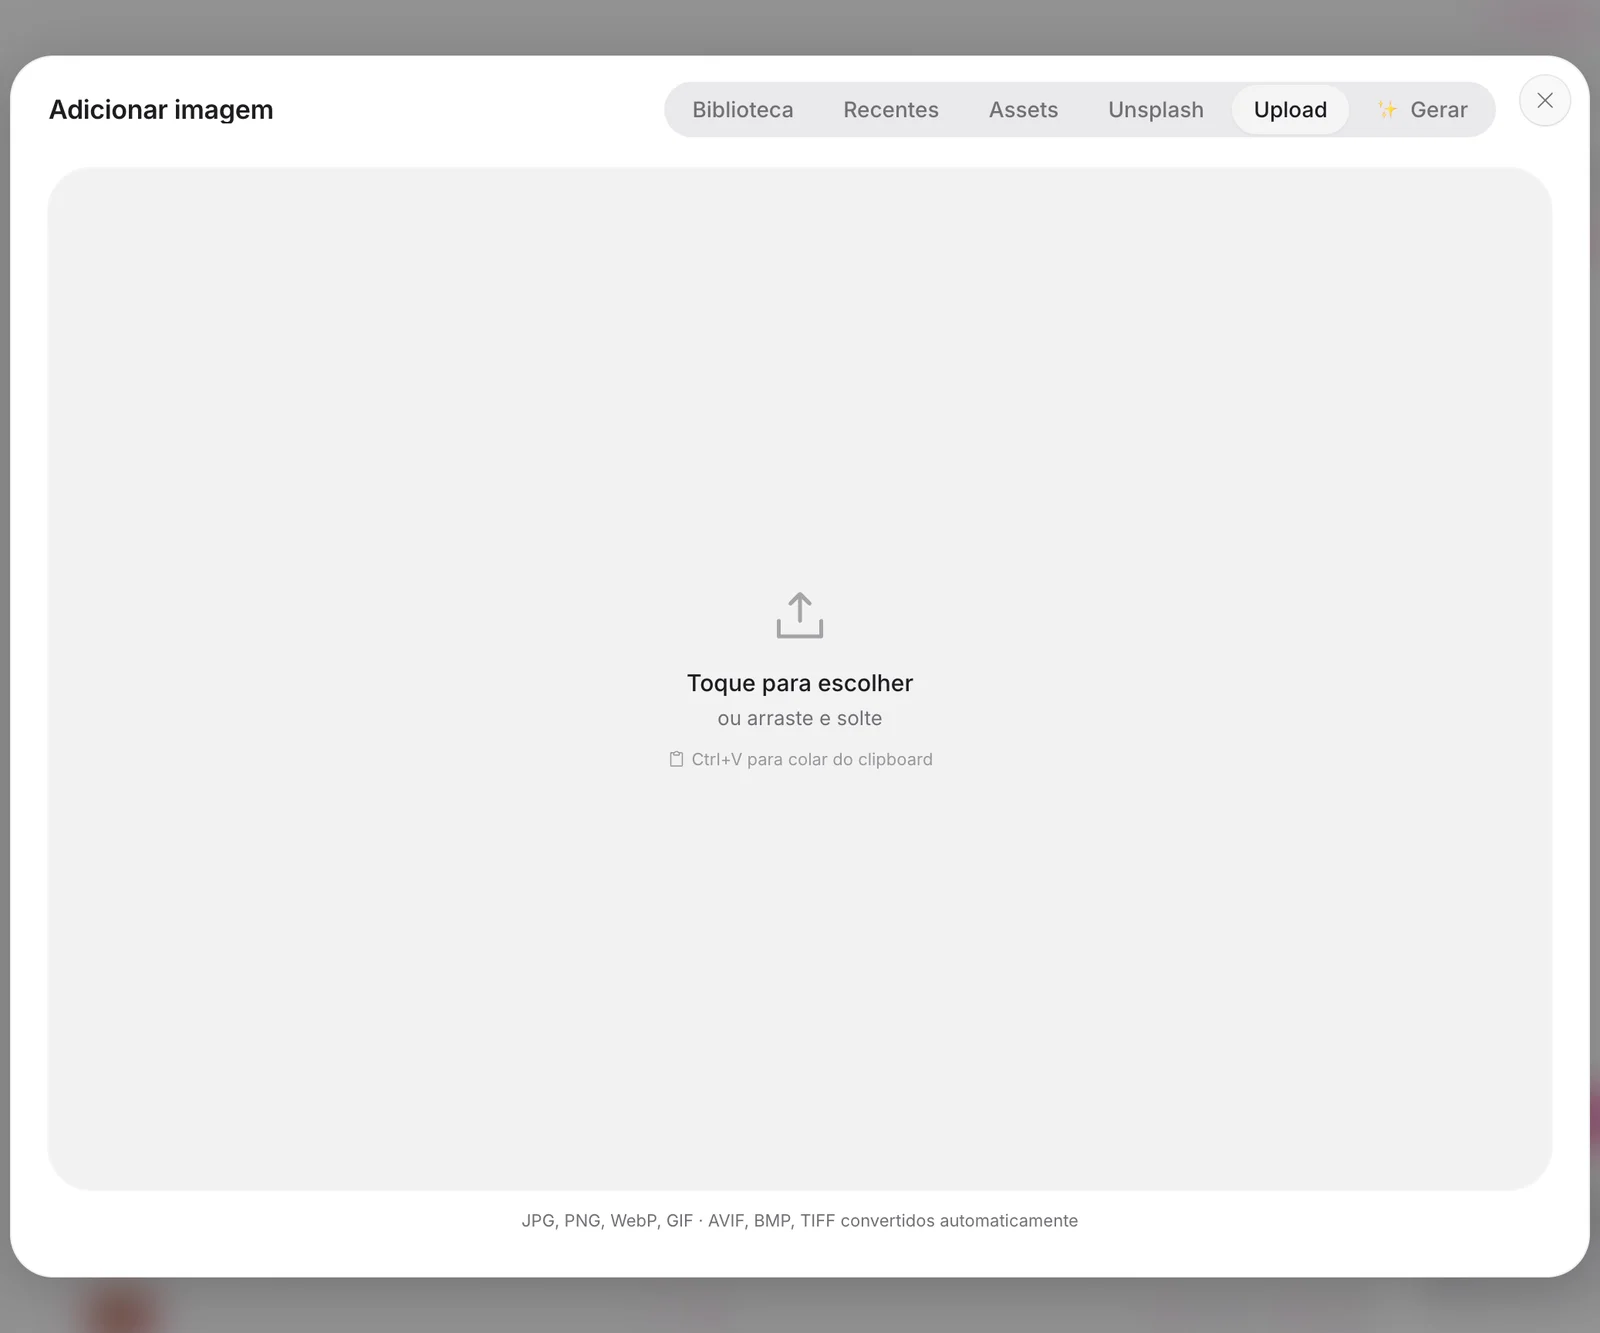
3Open Upload
In the Add image window, open the Upload tab and choose the file, or drag and drop it. You can also paste with Ctrl+V.
4Position it
Click the image to place it in the post and adjust its size and position.
How to know it worked
- The image shows in the post.
- It stays available in Recent to use again.
If something doesn't go as expected
- Reduce the file size.
- Convert the image to PNG or JPG.
- Refresh the page and upload one file at a time.
Related guides
ImagesUploading your images before generating the postImagesAccessing the image libraryEditorGetting to know the design editor
Was this page helpful?
Your answer helps us improve this guide.

Still have questions?
Contact support. Have your account email at hand.